- Michał Stefaniuk
- Read in 5 min.
Camunda Infrastructure – short introduction
Camunda BPM is a lightweight, high-performance tool and an open source platform that allows to manage business processes automation. As a workflow engine it is usually present in the financial sector or banking sector.
Nowadays, a huge amount of companies are moving forward with digital automation. Once you decide to go for such a solution, you need to decide on how you are going to introduce Camunda into your business.
From a technical point of view, there are two main approaches. Both have their pros and cons. The first one is to embed the Camunda engine into your service, while the other one would run as a standalone and independent instance. In this article we will try to dive into both solutions and we will discuss their technical aspects, as well as their business implications.
Camunda as standalone managed engine
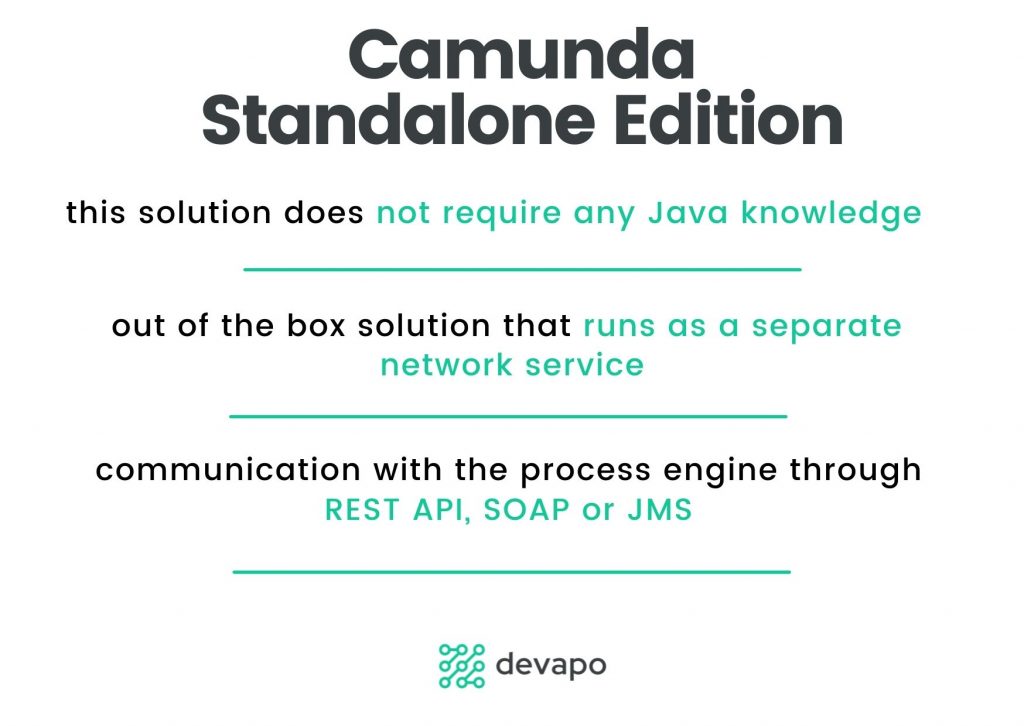
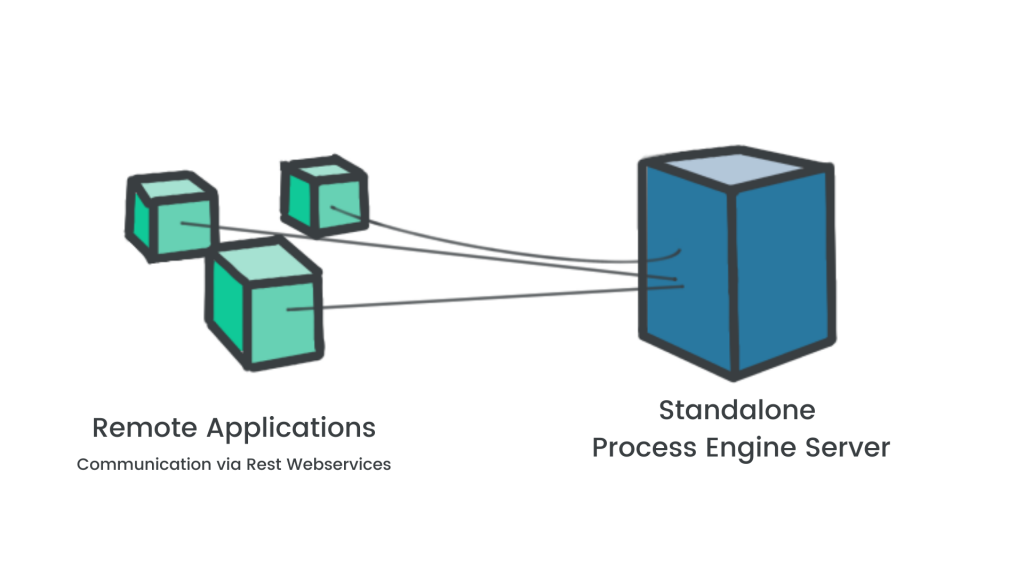
Firstly, let’s discuss the standalone managed edition. This solution is an approach where, from a technical point of view, it is not required to have any Java knowledge whatsoever. It is an out of the box solution that runs as a separate network service. The remote applications present in this architecture can communicate with the process engine through built-in REST API or different channels, like SOAP Webservices or even JMS, which however, would require some custom implementation by the engine users.
To set-up a solo Camunda Run instance, just quickly download it from here. Unzip it into the chosen directory and just execute a start script (start.bat or start.sh).
The structure of the downloaded package should look like the following.
camunda-bpm-run
├── configuration/
│ ├── database/
│ │ └── put your database driver jar here
│ ├── keystore/
│ │ └── put your SSL keystore here if you want to use HTTPS
│ ├── resources/
│ │ └── put your BPMN files here
│ └── application.yml
├── internal/
├── start.bat
└── start.sh
By default you should be able to access the engine on localhost:8080, but the configuration is pretty easy and you can basically change everything within the server in the application.yml file, like the port of the server. Other significantly useful property might be a logging level, for instance:
loggin.level.root = info
The full list of available properties is here.
Once you run the start script, you should be ready to go and the console should start streaming the engine logs.
: HikariPool-1 - Starting...
: HikariPool-1 - Start completed.
: ENGINE-00001 Process Engine default created.
: STARTER-SB011 skip creating initial Admin User
: lazy initialized
org.camunda.bpm.spring.boot.starter.webapp.filter.LazyProcessEnginesFilt
er@5bd82fed
: Tomcat started on port(s): 8086 (http) with context path
: Started CamundaBpmRun in 8.685 seconds (JVM running for 9.523)
: ENGINE-14014 Starting up the
JobExecutor[org.camunda.bpm.engine.spring.components.jobexecutor.SpringJ
obExecutor].
: ENGINE-14018
JobExecutor[org.camunda.bpm.engine.spring.components.jobexecutor.SpringJ
obExecutor] starting to acquire jobs
To be able to go for this approach, a user is not required to be proficient with Java. The configuration is pretty easy and quick. The default features provided by the standalone instance are quite rich. Easy bootstrapping might be tempting for a lot of architectures. However, we need to acknowledge the fact that the ability to communicate with the engine is dependent on communication between this instance and any other external service. This might increase the need for good security mechanisms. This approach, however, might not be as robust as querying the engine by a few lines of Java code which is possible via embedded edition. Camunda’s external task could be a good complement to this solution.
Camunda as an Embedded engine
Now, let’s jump into the embedded edition of the Camunda engine. To start with, let’s use the Camunda initializer, which is a tool similar to spring initializer. It allows us to generate a template for a Spring Boot application with customized Camunda dependencies.
Just go to https://start.camunda.com/
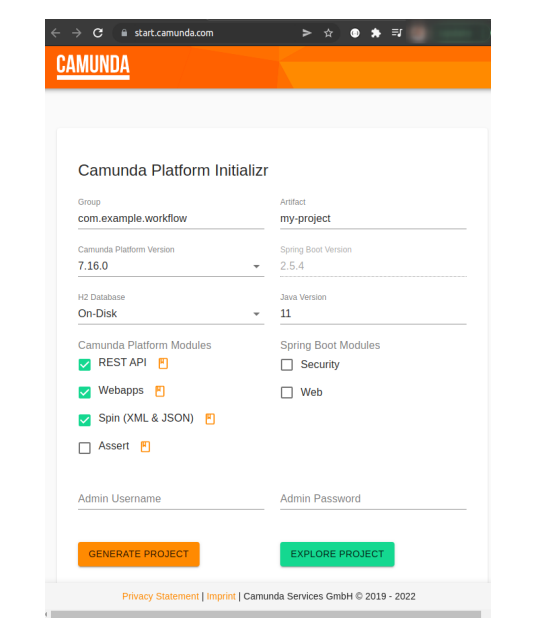
You will be prompted with this page. After you adjust the project to your preferences, click “generate project” and the downloading process will start. Then, just unzip the project and open it in your favorite IDE. I recommend IntelliJ.
If you follow this path, you will notice that the project that just got generated is just a simple “hello world” Spring Boot application. It’s structure looks like this:
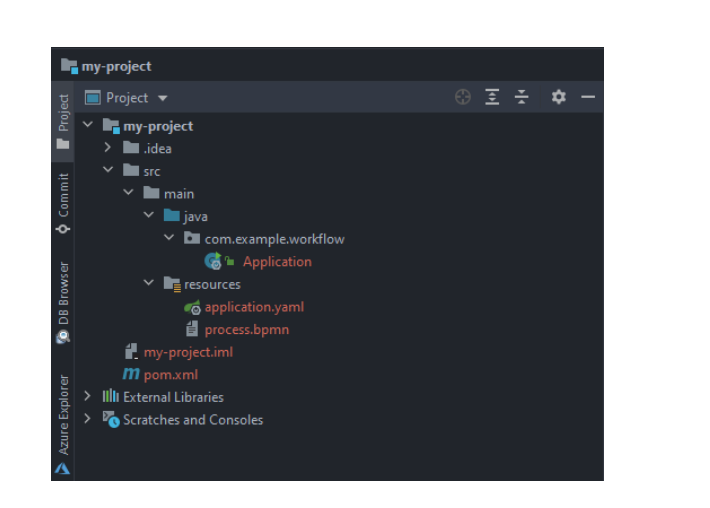
It is just a regular Spring Boot application. What is different though, is that it is enhanced with Camunda dependencies, as well as with basic bpmn file as an example process that You can run. If You jump into the pom.xml file, you will notice all the Camunda dependencies that you chose in the Camunda initializer.
<dependencies>
 <dependency>
   <groupId>org.camunda.bpm.springboot</groupId>
   <artifactId>camunda-bpm-spring-boot-starter-rest</artifactId>
 </dependency>

 <dependency>
   <groupId>org.camunda.bpm.springboot</groupId>
   <artifactId>camunda-bpm-spring-boot-starter-webapp</artifactId>
 </dependency>

 <dependency>
   <groupId>org.camunda.bpm</groupId>
   <artifactId>camunda-engine-plugin-spin</artifactId>
 </dependency>

 <dependency>
   <groupId>org.camunda.spin</groupId>
   <artifactId>camunda-spin-dataformat-all</artifactId>
</dependency>

 <dependency>
   <groupId>org.springframework.boot</groupId>
   <artifactId>spring-boot-starter-web</artifactId>
 </dependency>

 <dependency>
   <groupId>com.h2database</groupId>
   <artifactId>h2</artifactId>
 </dependency>

 <dependency>
   <groupId>org.springframework.boot</groupId>
   <artifactId>spring-boot-starter-jdbc</artifactId>
 </dependency>

</dependencies>
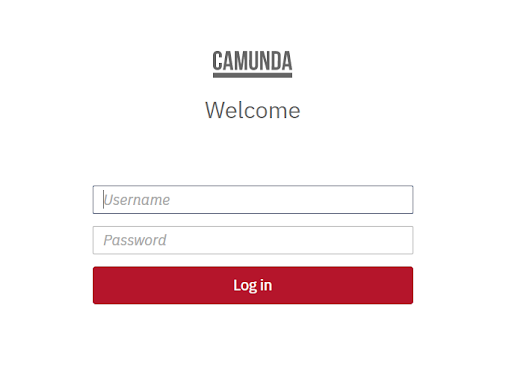
Now we are ready to run the application. By default it will run on localhost:8080. If you include in your project a dependency called camunda-bpm-spring-boot-starter-webapp, then once you jump to the localhost address, you will be able to notice the Camunda login page.
That’s it, you have a Spring Boot application with embedded Camunda engine, that’s how easy it is. Let’s talk about the pros and cons of embedded engine.
It is highly scalable and extremely easy to integrate with a Spring Boot application, even if it’s already live in production. All it takes, is just to include necessary dependencies and perhaps some configuration in the properties of your service. This solution might also feel more natural to Java and Spring Boot developers.
On the other hand, this edition of Camunda engine will require some custom development when it comes to sharing databases. Sharing a central engine by multiple applications has it’s certain limitations and should always be considered before introducing Camunda to the system.
The development effort of this solution is very dependent on your infrastructure. Nevertheless, this solution is definitely the one which requires an application developer to be responsible for the configuration.
Quick comparison – the embedded edition
Let’s quickly review both of the solutions.
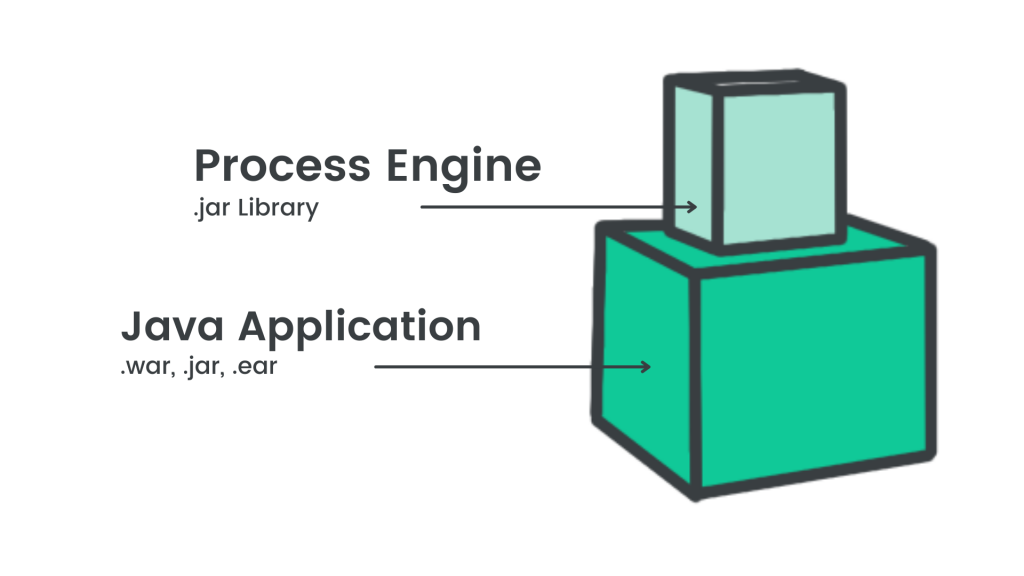
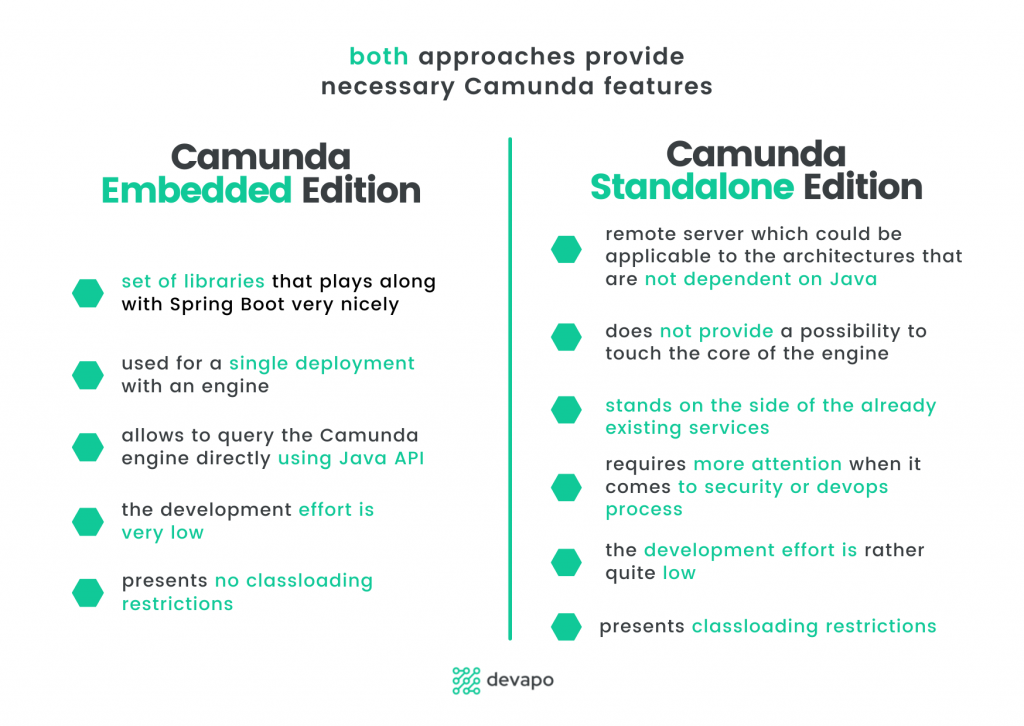
Both approaches will provide necessary Camunda capabilities like webapps, the core, which is an engine, REST api and others. From the application point of view, the embedded edition is a set of libraries that plays along with Spring Boot very nicely and is used whenever you want a single deployment with an engine. Since it allows developers to query the Camunda engine directly using Java API, the development effort is very low and it presents no classloading restrictions.
Quick comparison – the standalone edition
On the other hand, the standalone is a remote server which could be applicable to the architectures that are not dependent on Java. Also it does not give you a possibility to touch the core of the engine, as well as for the security reasons, the platform will be standing on the side of the already existing services. This separate installation allows you to be in advantage, but it also can cause a tremendous amount of technical issues, like security itself, or the whole devops part, since it requires taking care of a deployment and maintenance. The development effort is also quite low, but despite this fact, it has some classloading restrictions to it. For instance a user is not able to submit tasks, once a synchronously called service uses a class contained in the application – the solution requires implementing safe points.
Another thing, which is worth mentioning, is that the standalone edition does not provide transactions. To utilize this feature a user has to customize it through
org.camunda.bpm.engine.impl.cfg.StandaloneProcessEngineConfiguration, for example
ProcessEngineConfiguration.createStandaloneProcessEngineConfiguration()
...
.buildProcessEngine();
This is crucial while integrating with another external service such as a database that works with transactions as well.
Summary
Probably the most important factor while introducing Camunda to your infrastructure would be the way you want to orchestrate your processes and the complexity of the communication with the engine itself.

It presents no issues regarding transactions, classloading or scalability. Through Java API it is extremely easy to communicate with the engine and implement custom solutions. We could call this approach “Camunda as a library”.
However, if you have no interest in implementing custom solutions with Java and your architecture allows a simple security & DevOps management, you should consider the standalone edition as well. This gives you the freedom to have your engine clients implemented in different languages and for sure acknowledges the platform as a component of your system, rather than the library.
Your decision will definitely impact the way of your service to be deployed, including static resources like process definitions as well. Different solutions will probably also have an impact on performance of your system.
Check out our Camunda Tutorial: Standalone vs Embedded.
For more Camunda Tutorials check out our YouTube Channel.
Check out our smart process automation services
Let us help you unlock your business operations efficiency