
- Radoslaw Kulikowski
- Read in 4 min.
If you create a web application today, you have at your disposal a variety of frameworks and code generators, but if you want to work comfortably and remain at the forefront of technology, certainly notice about the JHipster – one of my favorite open-source projects on the planet.
So, what is JHipster?
JHipster is a development platform to quickly generate, develop and deploy modern web applications and microservice. It was put into use in 2013. (https://www.jhipster.tech/)
Technological stack
The programming languages and frameworks that can be used when generating the project by JHipster are presented below:
Backend:
- Java
- Spring (Boot, MVC, Security)
Databases:
- SQL
- NoSQL
Frontend:
- HTML5
- Bootstrap
- AngularJS
- Angular 2+
- React
Application development process
Installing JHipster
We can make JHipster work in four different ways by following the instructions on the website: https://www.jhipster.tech /installation
In our example, we will use npm.
To install JHipster we need:
1. JAVA
2. Node.js
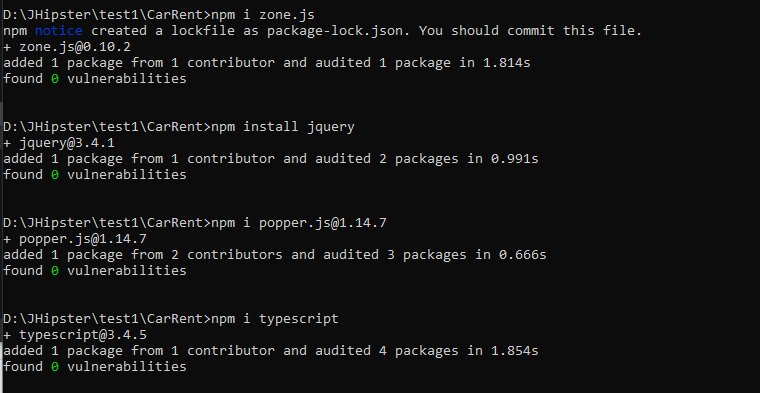
Then execute the following command with npm:
npm install -g generator-jhipster
Create an application
We can create the application by the following steps:
1. We create a folder for the application (Using its name)
2. Using the command line (cmd, gitbash etc.) we go to the created folder and enter the command: jhipster
3. JHipster will start asking questions in order to generate an application suitable for your needs, remember to answer wisely! (sample answers below)
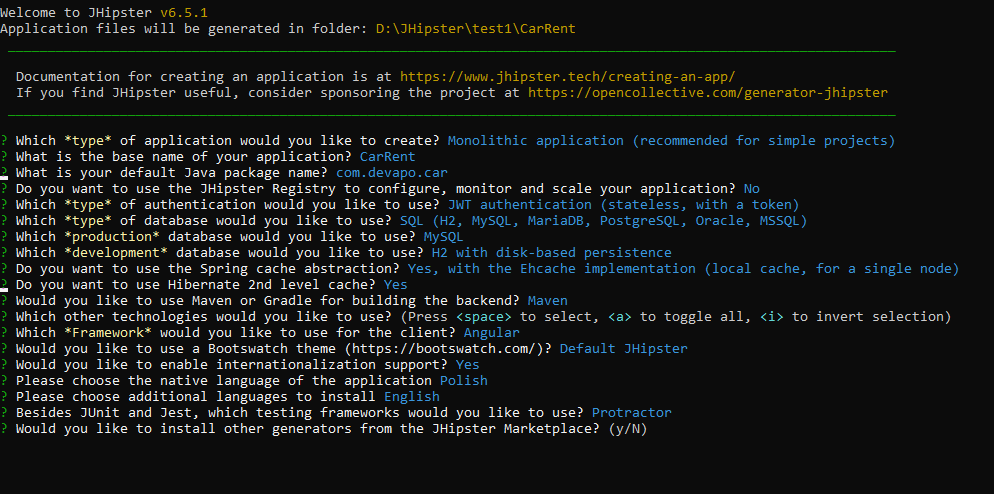

Configuration during installation
The installer interface is USER FRIENDLY. You should read the messages carefully, if we lack any dependency or package, the installer will inform us about it. Then you should install / update and re-enter the jhipster command.


Generated code – structure
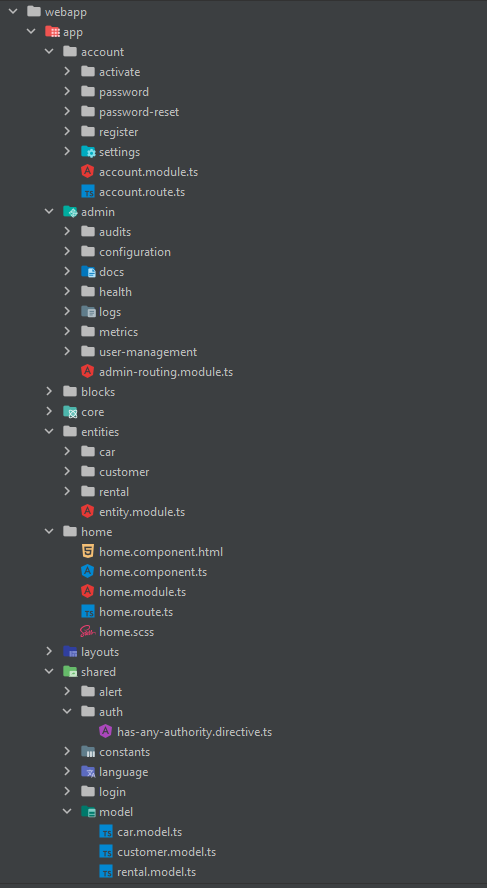
In the example above, we generated an application called CarRent. The approximate structure of the backend is as follows:
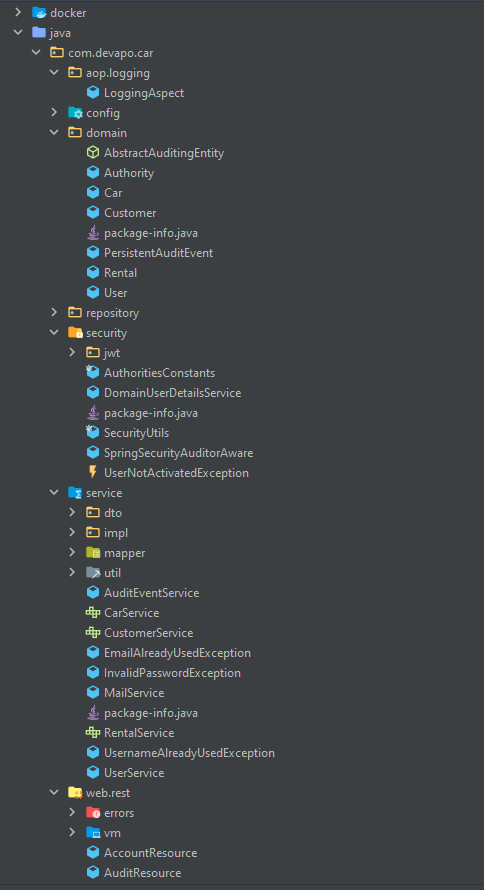
We can see that JHipster has generated all the basic functionalities (logging, security, etc.) as well as controllers, services and repositories for the resources indicated by us (tables and their relations), which are discussed reabelow.
Below we can see the approximate structure of the frontend:
Database preparation
After generating the application by JHipster, we can connect any database that is compatible with applications created in the Java + Spring technology.
However, I would like to present a method that is fast and effective and very easy to implement even for programmers who have no experience with databases. I will do it using the JDL-Studio feature (https://www.jhipster.tech/jdl-studio/)
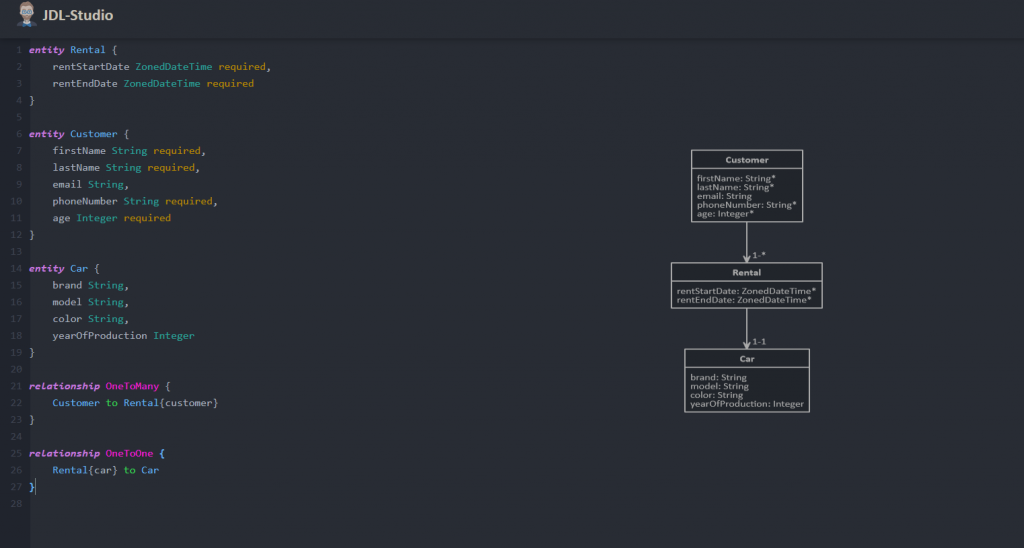
JDL-Studio
JDL-Studio is a database diagramming tool.
We prepare the database structure by writing the code (tables, relationship, etc.), and JDL-Studio generates the relational diagram for us, thanks to which each of us is able to quickly verify whether what we wrote makes sense.
This tool is compatible with the application, ie. JHipster, and is able to map this database in our application, creating the entire basic backend structure without our intervention.
Sample database diagram
Database structure import

After downloading the diagram with the .jh extension, just execute one command in the application pointing to this file:
jhipster import-jdl schemat.jh
In case of a change in the database diagram, it is worth running the command:
mvn liquibase:clearCheckSums
The main information about the database is available in the catalog (in our case there is information about tables and relations from JDL-Studio):
resources/liquibase/
Changing the database is possible by setting the database in application.properties (just like in the regular spring-boot application)
Application launch
Frontend launch: npm start
Backend launch: domyślnie jak w apce spring-boot
Backend and frontend launch: /mvnw or mvnw Backend and frontend launch: /mvnw or mvnw
Journey through the generated code
Ready implementation of services
JHipster will generate a code that has many functions by default, such as:
- Login
- Registration
- Basic error handling
- Security (e.g. blocked access to resources / settings, automatically created users with different roles)
- Login (redundant, easy to disable)
- Possibility to generate fake data for the database
- Automatically created Spring Profiles (helping to test applications on various environments)
- Automatically generated dependencies in pom.xml (also with an exemplary division into profiles)
- Tests
- Possibility to learn frontend for backend users, based on automatically generated code (templates, variable binding, error binding).
- Possibility to learn frontend for backend users, based on automatically generated code (templates, variable binding, error binding).
Application in browser
Let’s move on to the application overview in the browser – the presented application does not even have a line of code written by the developer, everything is provided by JHipster.
Frontend functionalities:
- Login / registration forms
- Customizable email sending
- Access to tables (possibility to edit in GUI)
- User management (possibility to edit in GUI)
- Swagger with methods from the Controller + the ability to create queries.
- E2e tests (even on generated tables) with npm run e2e command
Basic login page layout:

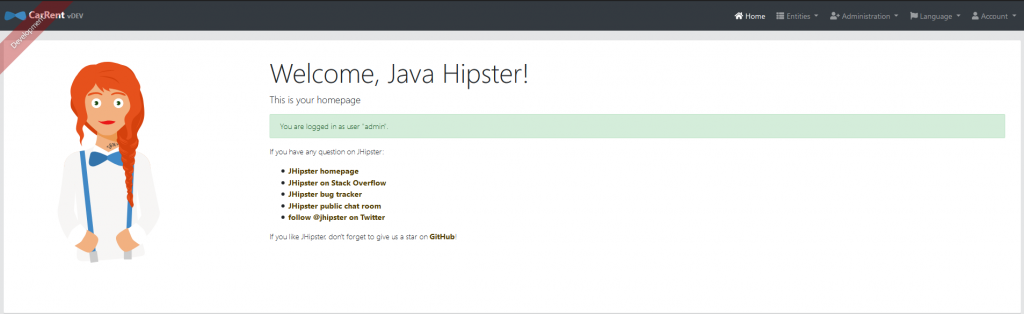
Basic website appearance after logging in:
By default available tabs:
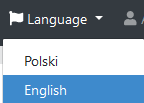
The ability to change the language:
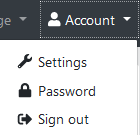
Account settings:
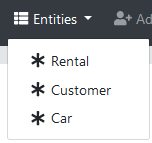
Entity management:
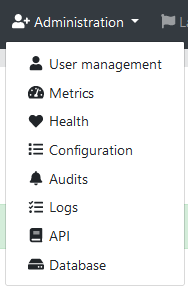
Administrator tab:
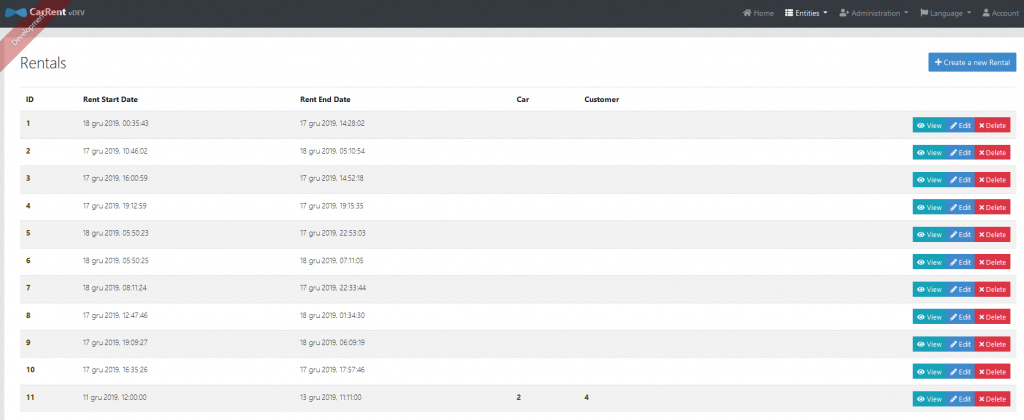
Tables view
If we are authorized to change records in the tables, we can do it on the website. Records are downloaded from the database, pagination and sorting are available (we can easily add filtering)
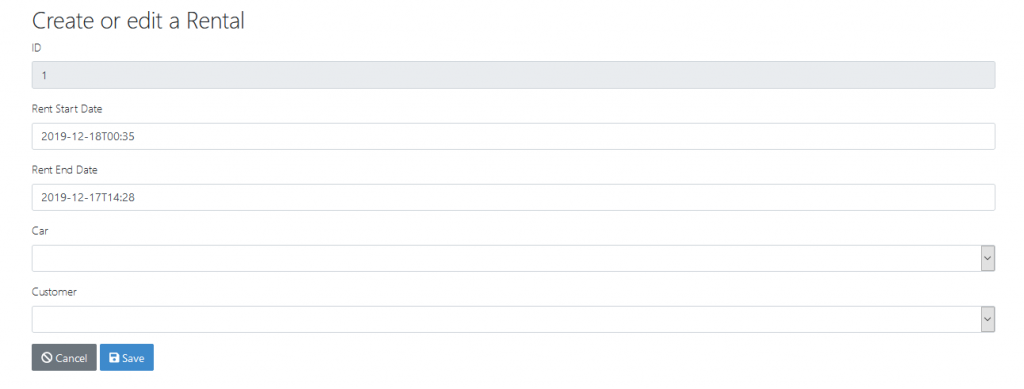
Editing records from the database
Below we can see the basic window for editing a record from the database:
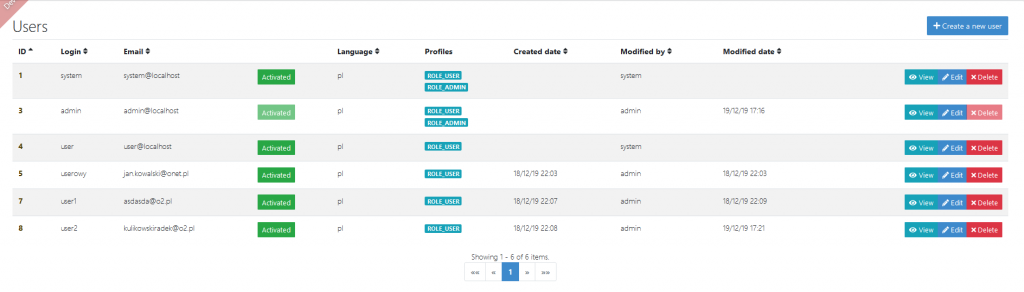
Access to the list of users
Appropriate permissions also allow you to manage user accounts, change their data and roles:
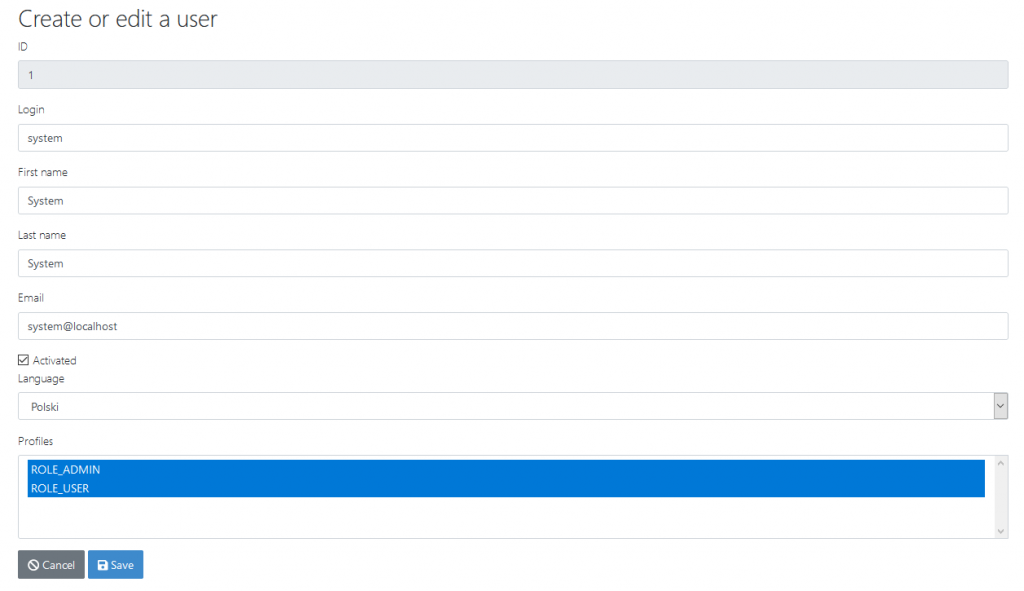
Editing user profiles and permissions
Below we can see the basic user edit view:
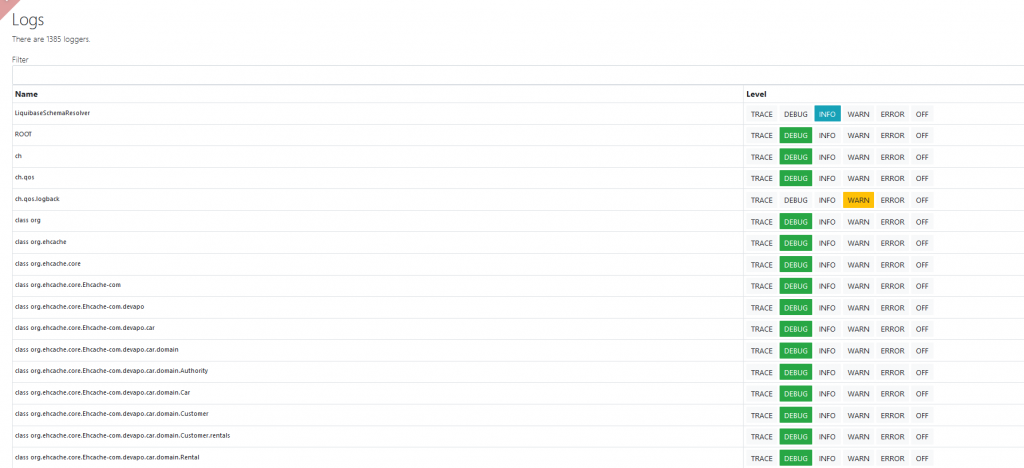
Log management
The admin panel also provides login level control. The appearance of the generated panel can be seen below:
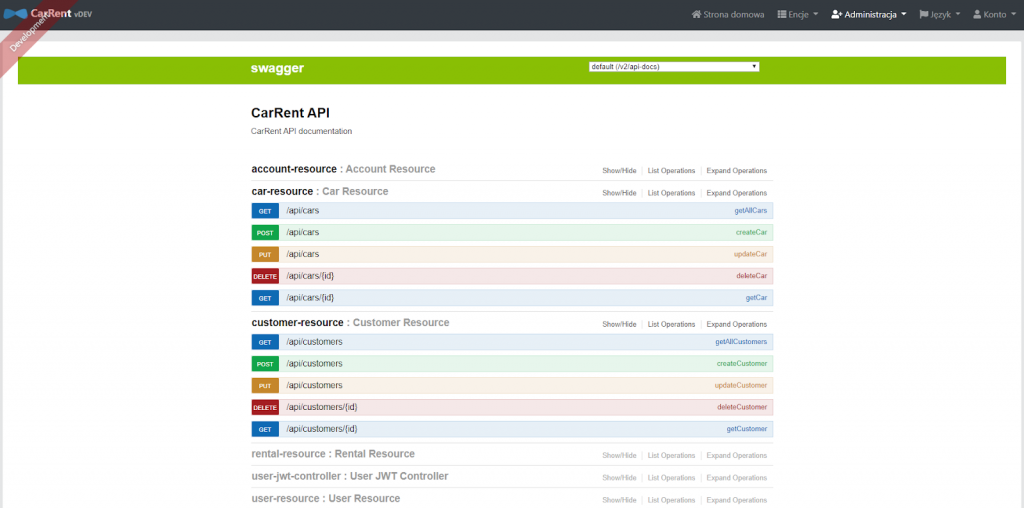
Swagger
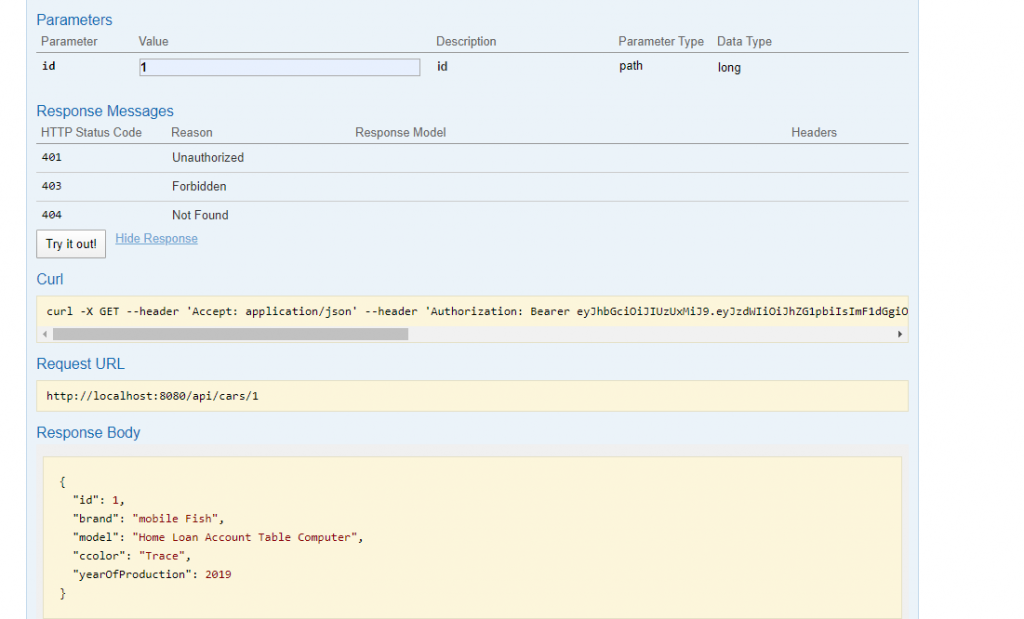
By default, Swagger documentation is also generated based on the provided tables, so we can easily conduct functionality tests that we implement using the frontend GUI:
An example of a browser query:
Bringing the application to the web
JHipster allows you to deploy applications on Heroku very easily:
1. Download Heroku CLI
2. Create an account on Heroku
3. Log in to Heroku, e.g. via Git Bash
4. Execution of the command: jhipster heroku in the folder with the application, on the branch that we want to deploy (usually master)
You need a stable database to deploy your apliccation on Heroku.
Summary
Based on the example above, we can see how easy it is to get an application with basic functionalities in just a few minutes (assuming that we have knowledge about relations between objects).
Additionally, JHipster can be an ideal solution for junior programmers who could review solutions implemented by JHipster developers for specific application sectors.
All application code generated as part of this example is available here.
Check out other articles in the technology bites category
Discover tips on how to make better use of technology in projects